

If you intend to play GTA 6 on your PS5, then aim to free at least 220–250 GB of usable space on your console’s SSD, as it requires at least 212 GB download on PS5 (Standard Edition). Note that Rockstar has officially confirmed this size, but a day-one patch could add even more, so keep this in mind. The pre-load is scheduled to begin on November 10, 2026, which is a little more than a week before the November 19, 2026 launch. This guide will provide you with tips and tricks on how to free up space on PS5 for GTA 6’s 212GB download.
In this article
Check your current storage & delete games you don’t need
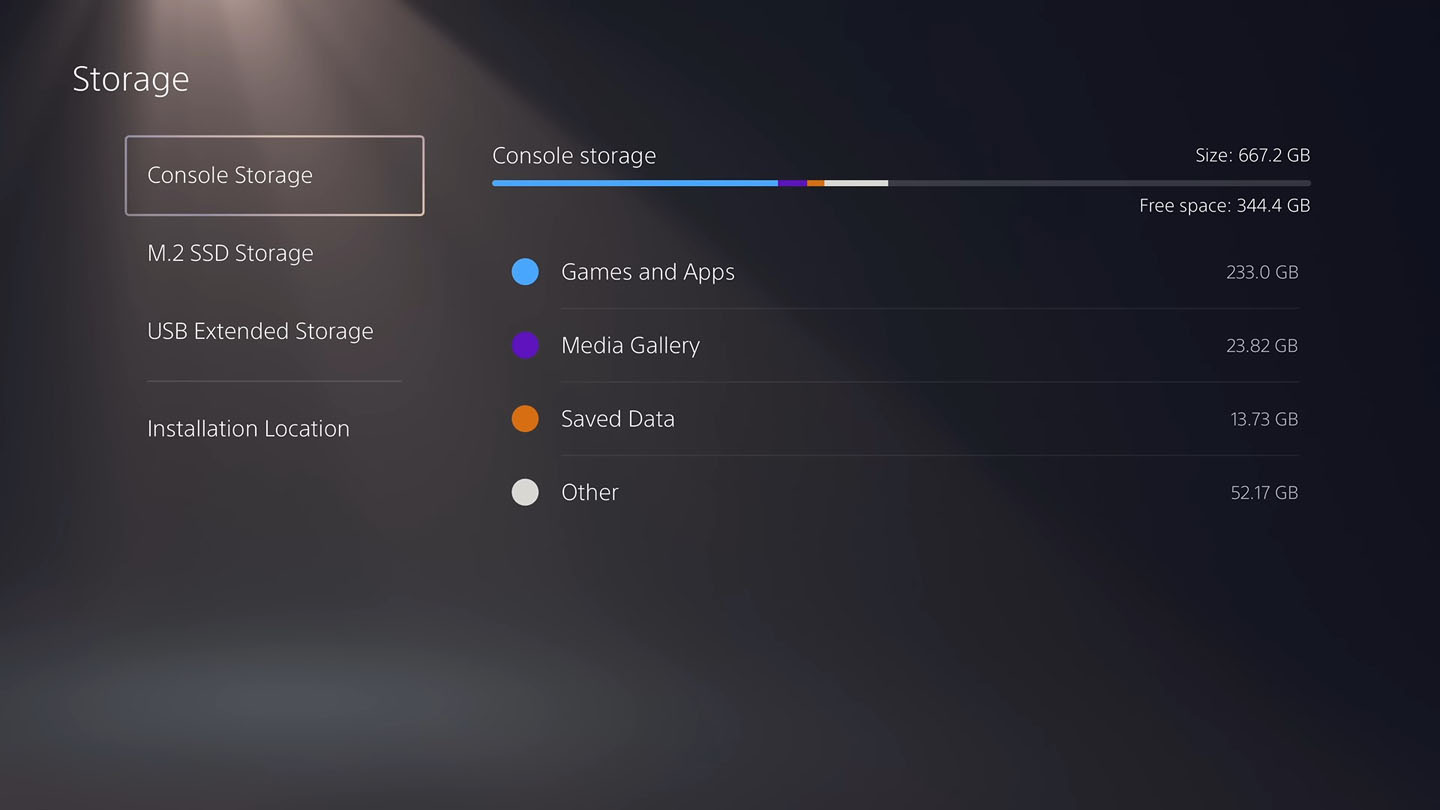
Before trying to free some space for the massive GTA 6 download, first be sure to check your current storage. Here’s how:
- Go to Settings and choose Storage.
- Select Console Storage or your M.2 SSD, if you have it installed.
- Check out the free space under Games and Apps, Media Gallery, Saved Data, and Other.
- You can also sort your games by size.
If you find that a game you don’t play anymore takes up too much space, you can delete it safely, as this removes only the install data but keeps your save data, trophies, and licenses intact. You can re-download it anytime from your Game Library, as long as you own the game, of course.
You can also delete game demos, trials and other applications you don’t need. Note that some games have the option of Customize next to their title. Go and remove the components you don’t need, for example language packs you don’t need, multiplayer modes, HD textures, add-ons, etc.
Clear your media gallery & move your games
If your console auto-records trophy clips and long gameplay videos, they can quickly consume all your free space. Here’s how to clear all your media:
- Go to Settings, Storage, Console Storage, and choose Media Gallery.
- Switch to the All, Trophies, or other tabs.
- Use the “Select Multiple” toggle, check the items you don’t want, and delete them.
- If you wish to preserve them, then simply opt to copy them to a USB drive.
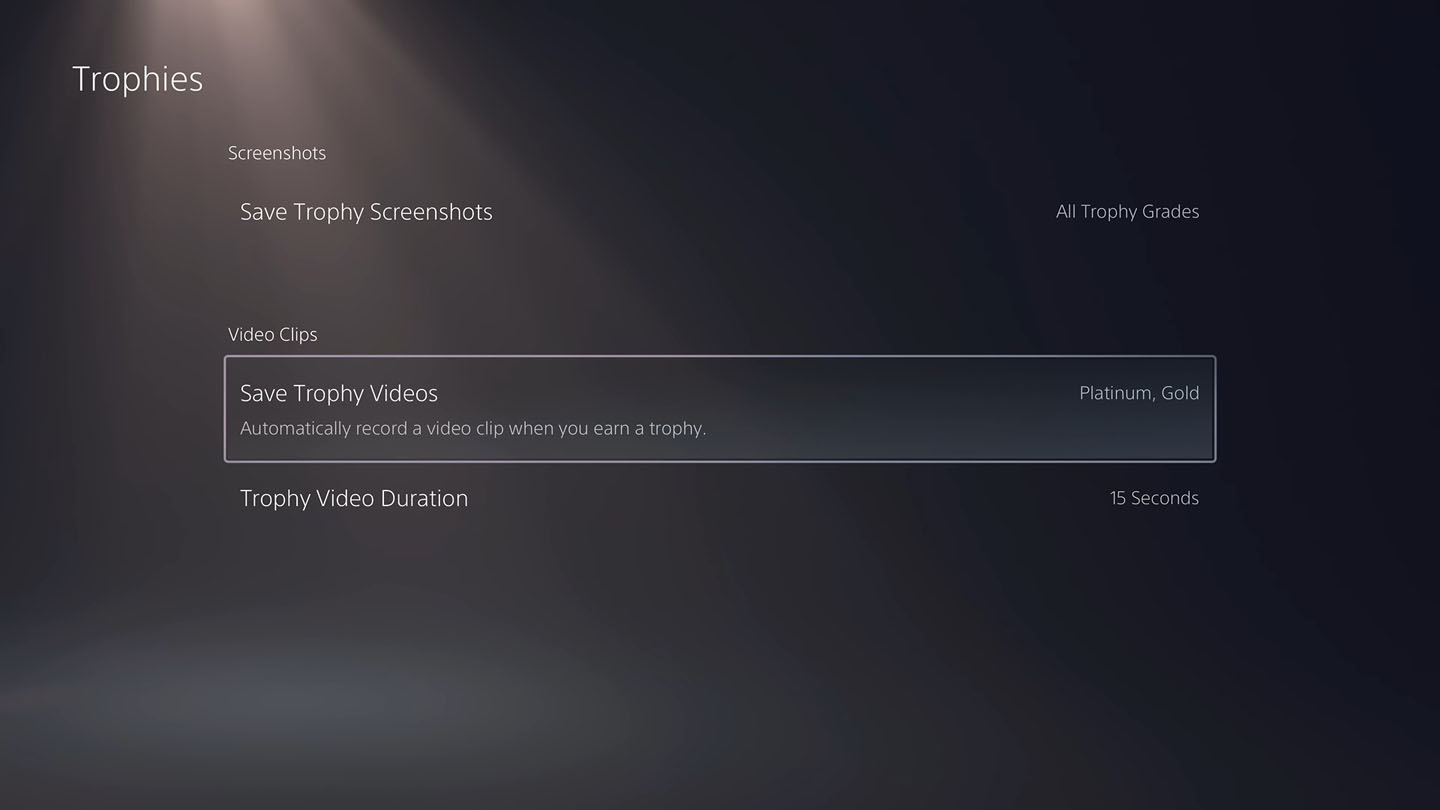
Note that you can always disable trophy auto-captures, gameplay clips, and switch screenshots to JPG via Settings, Captures and Broadcasts, Auto-Captures. Also, if you have a compatible M.2 SSD expansion on your PS5, you can move entire games there with all the relevant media, if you wish to keep it. Here’s how:
- Connect your M.2 to your console, if you haven’t done it yet.
- Go to Settings, Storage, Console Storage, and choose Games and Apps.
- Select the games you wish to move and choose the move option to the selected destination.
Expand Your PS5 storage with compatible M.2 SSDs
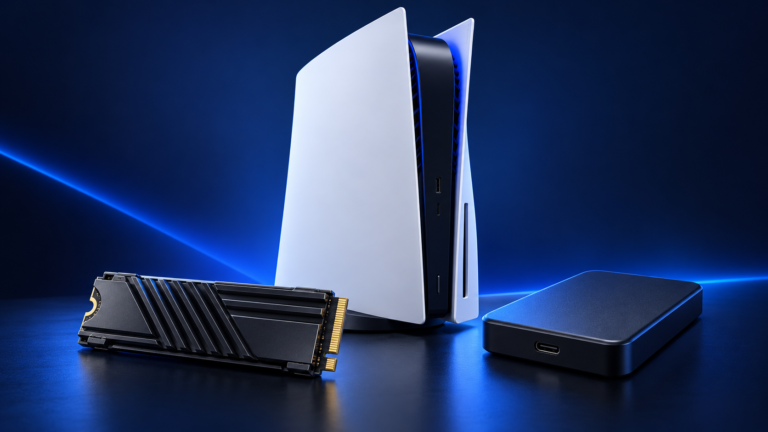
All models of PS5, including the Slim and Pro models, have one M.2 internal expansion slot, which has the PCI-Express Gen4 x4 M.2 NVMe SSD interface. Note that M.2 SATA SSDs are not supported in any way and PCIe Gen5 drives are usually supported but limited to Gen4 speeds. Regardless of which model M.2 SSD you choose, always look for the PS5 compatability support and go for a model that has a pre-applied heatsink.
Once you have the drive, you’ll need a Phillips #1 screwdriver and the following steps to install it:
- Power off your console and unplug all cables.
- Place the console on a flat surface with the PlayStation logo facing down.
- Remove the side cover, which covers the expansion slot on the bottom panel, when the logo is down.
- Slide it carefully and unscrew to remove the metal expansion slot cover.
- Also, remove the screw and spacer from the slot.
- Move the spacer to the correct hole, matching your drive’s length.
- Hold the M.2 SSD by the edges, align the notch and insert it at an angle into the connector, then press it down flat.
- Secure it with the screw and reattach the expansion slot cover with the side panel.
- Reconnect all the cables and turn the power on.
If you did everything right, the console will detect the new drive and guide you through the formatting process. After the successful installation, here’s what’s left to do:
- Go to Settings and Storage to see the new drive.
- Set it as the default install location in Settings, Storage, Install Location.
- Move all your games to free up the internal SSD.